Has summer started yet?
Finally finished my 2014 modifications
This years list included:
1.Replace carpet with SeaDek
2. Re-locate stereo battery bank and switches
3. Major stereo upgrades
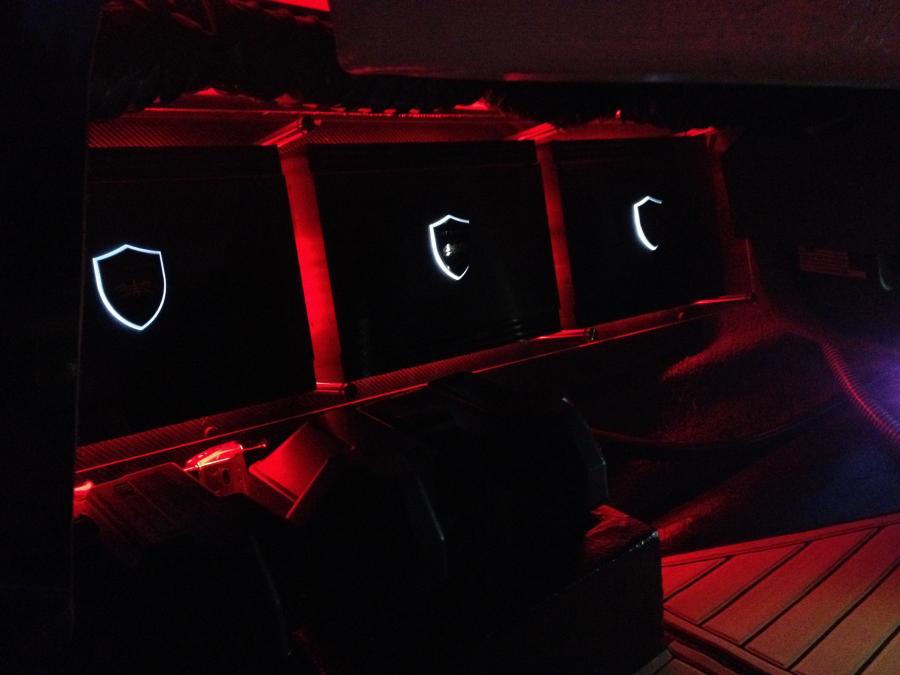
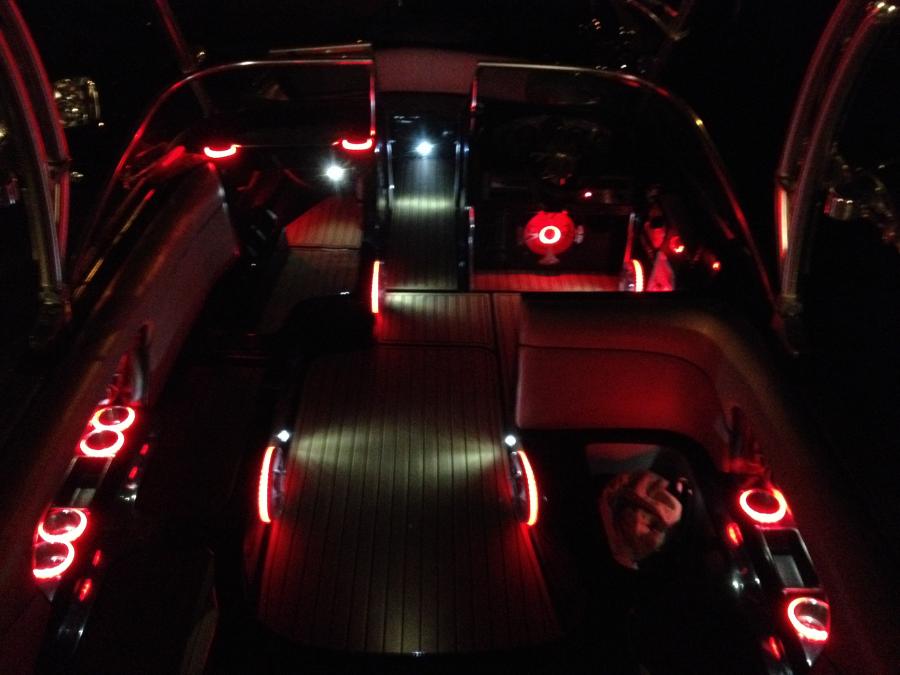
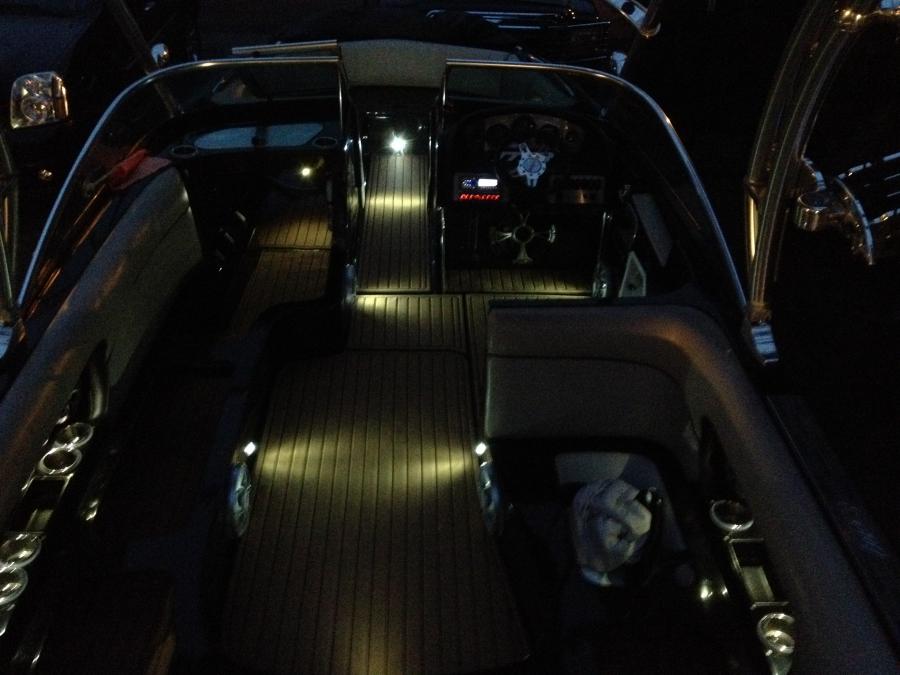
4. Theater lighting
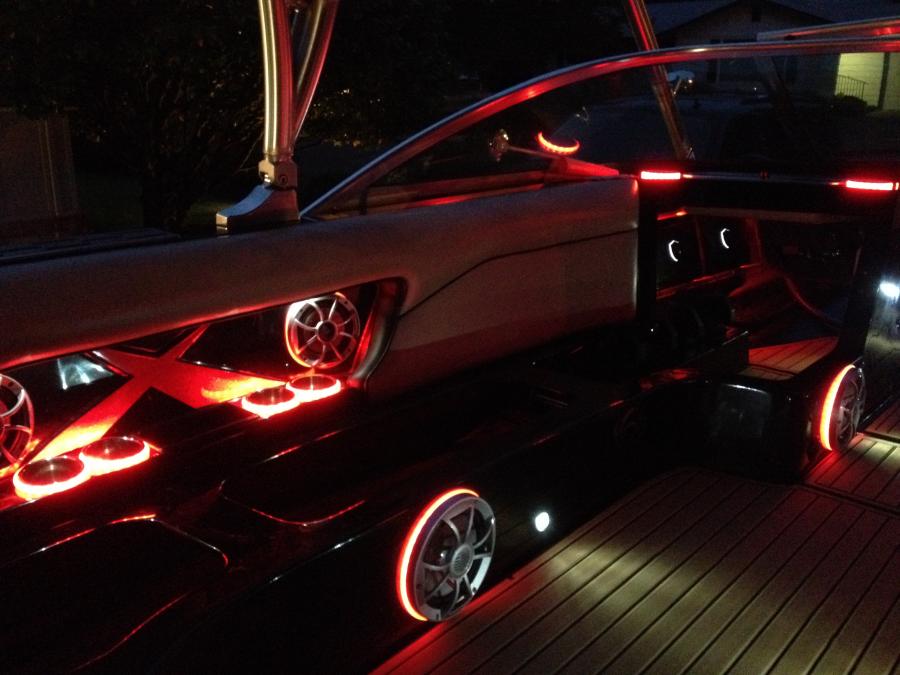
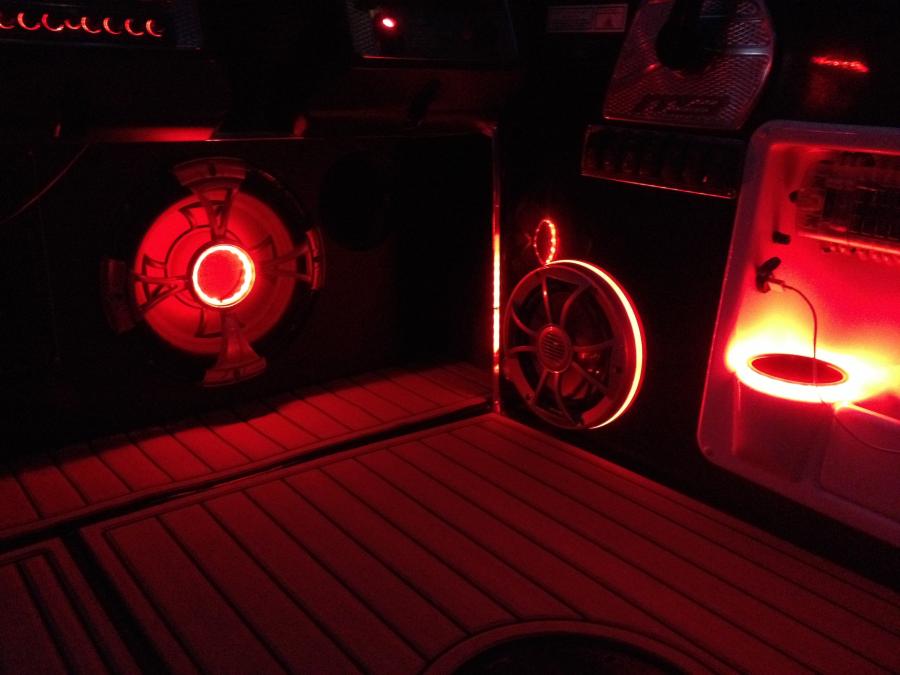
5. LED cup holder and speaker rings
6. Re-designed surf gates
So I think I have covered the SeaDek pretty well in the other post, wont go into any detail here.
Battery Bank Relocation.
In addition to the two starter and house load batteries in the stock location I previously had 2 ^ volt GC batteries also stuffed in the passengers compartment. I never really liked this set up for 2 reasons. One, They take up a lot of valuable storage space and really clutter up that compartment and two, They each way about 75 pounds (which isn't necessarily a bad thing for surfing but since I am running the gates I don't want the boat listed).
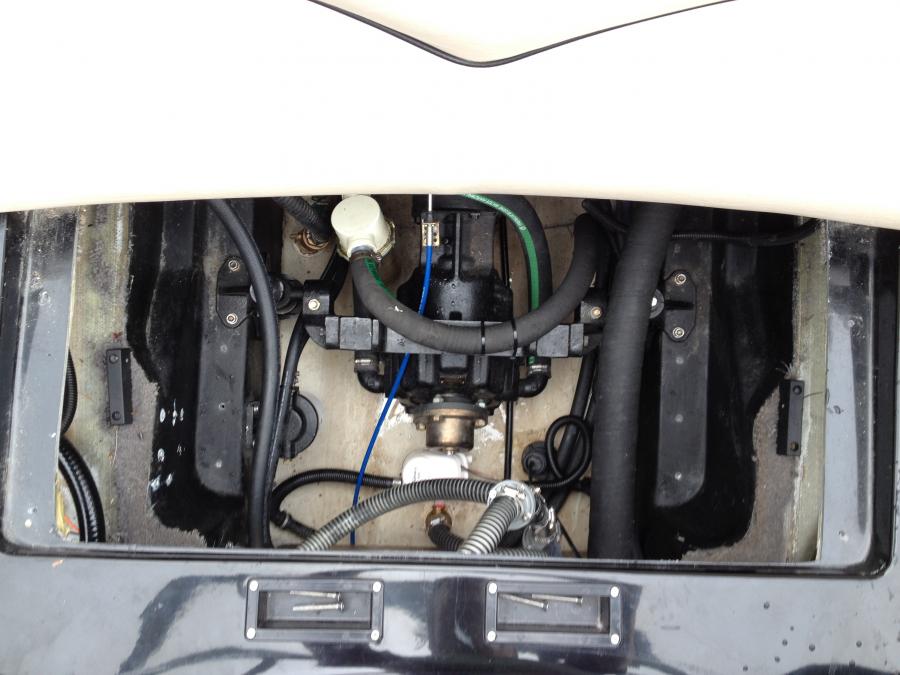
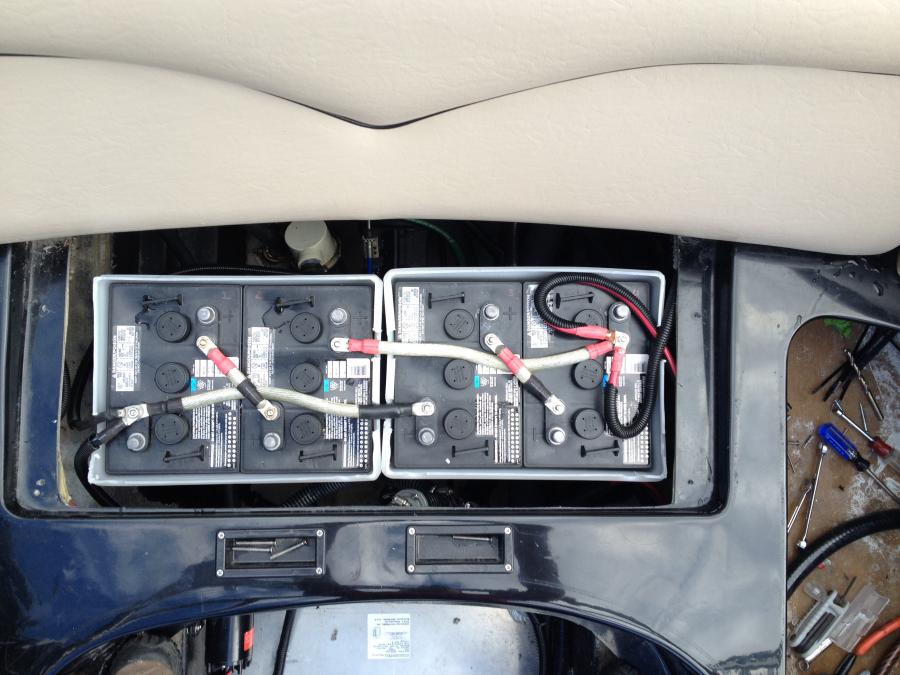
So in searching around for a suitable place to put them I found a ton of space under the rear passengers seat over the tranny. And with all that room, why not stuff 4 batteries in there instead of two

)
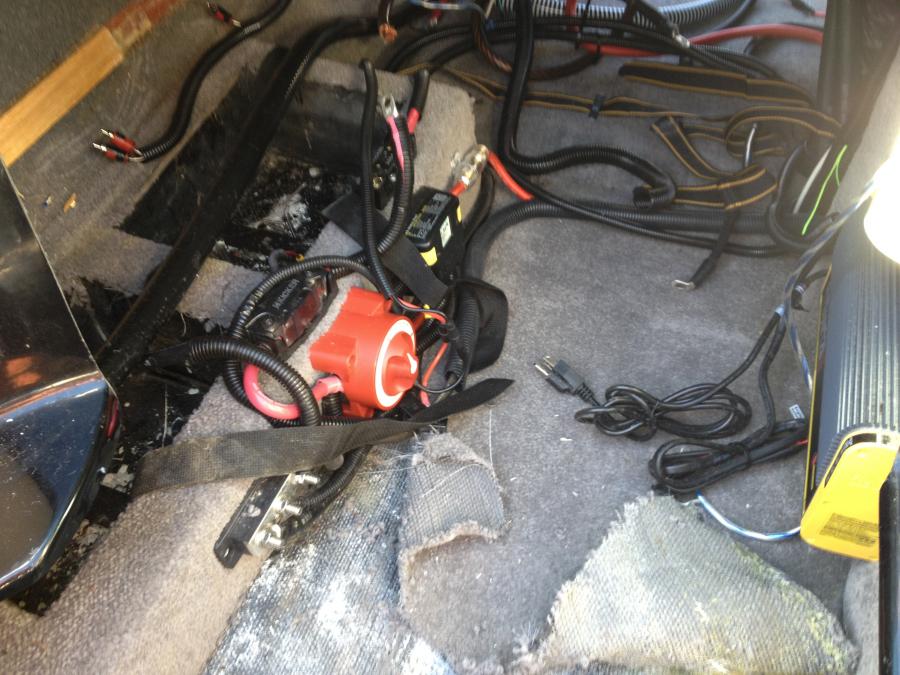
So the first thing I had to do hear was relocate my bow ballast pump (just moved it forward a bit)
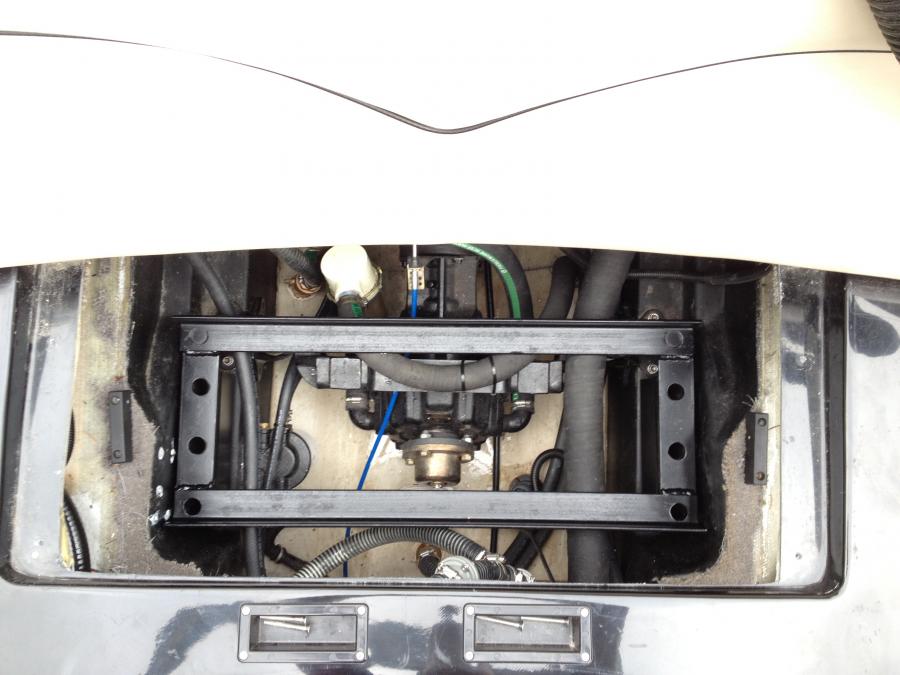
I took a bunch of measurements and drafted up a design for a tray that would fit the space and support the load. I took the drawing to a local 4X4 fab shop to build it for me (I have zero welding skills).
I had it built so that I could bolt it down to the stringers and span slightly over the motor mounts.
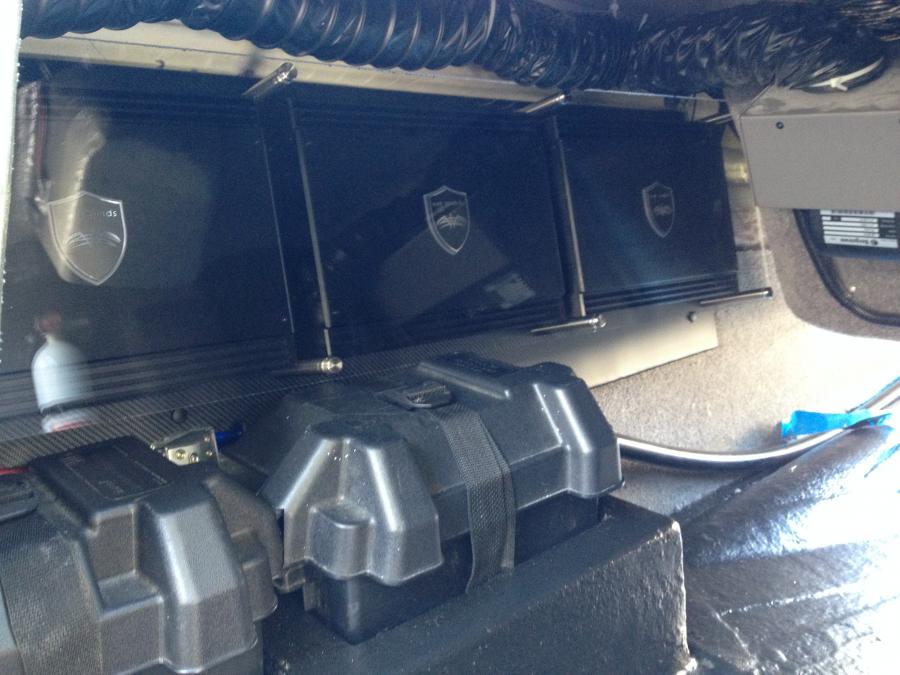
To house the batteries I bought a couple of these battery boxes. These are nice. Heavy duty, fairly low profile and hold 2 each 6 volts.
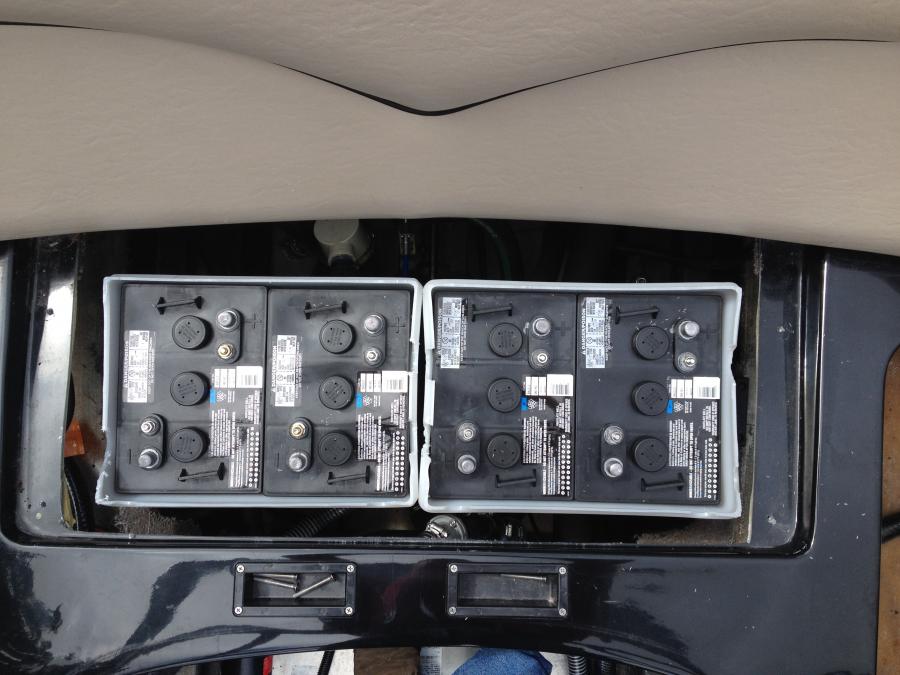
once I got the batteries installed I decided to relocate the Battery switch and ACR and I added an addtitional on off switch inline with the trunk cable that runs to my stereo distribution blocks.

with the batteries in place and the box lids on, there is just barely enough room to get the back fiberglass lid back on.
now I have nearly 300 pounds of additional ballast is the rear centered and a wide open observers compartment
Stereo Upgrades.
My previous amp set up was a 4 amp configuration (SYN 2 to the sub, 2 SYN 2's (1 to Each REV 410), and a SYN 4 for 8 in-boats) for a total of 2,900 Watts.
My new set-up is a 3 amp configuration (SD 2 to the sub, SD4 to the towers, and an SD 6 to 10 In-boats (Front 650's are on channel 1&2, 4 808's on Channels 3&4, and 4 rear 650's on channels 5&6) for a total of 4,150 Watts.
For the amp board I used a sheet of 1/2 inch birch plywood.
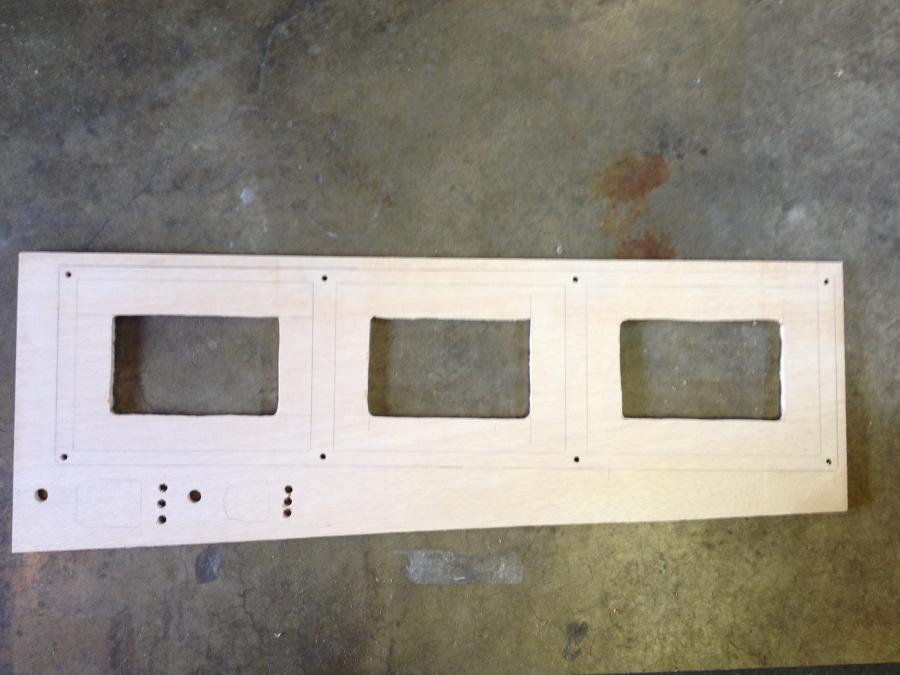
Covered it with Black Carbon Fiber Vinyl (ordered from MB to match my interior)
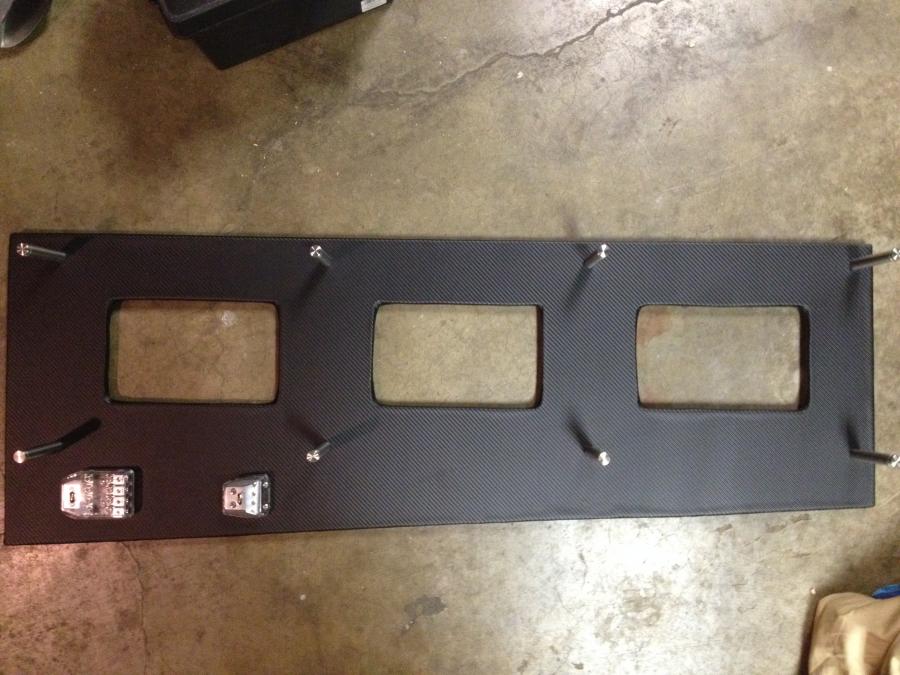
Mounted 3/8 acrylic mounting plates with red LED's
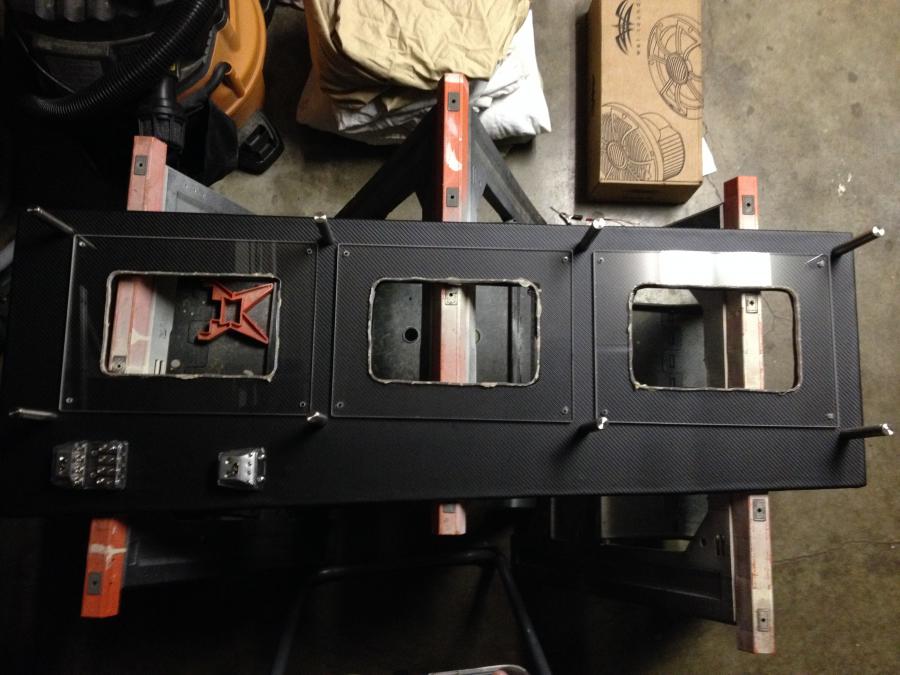
Mounted the amps
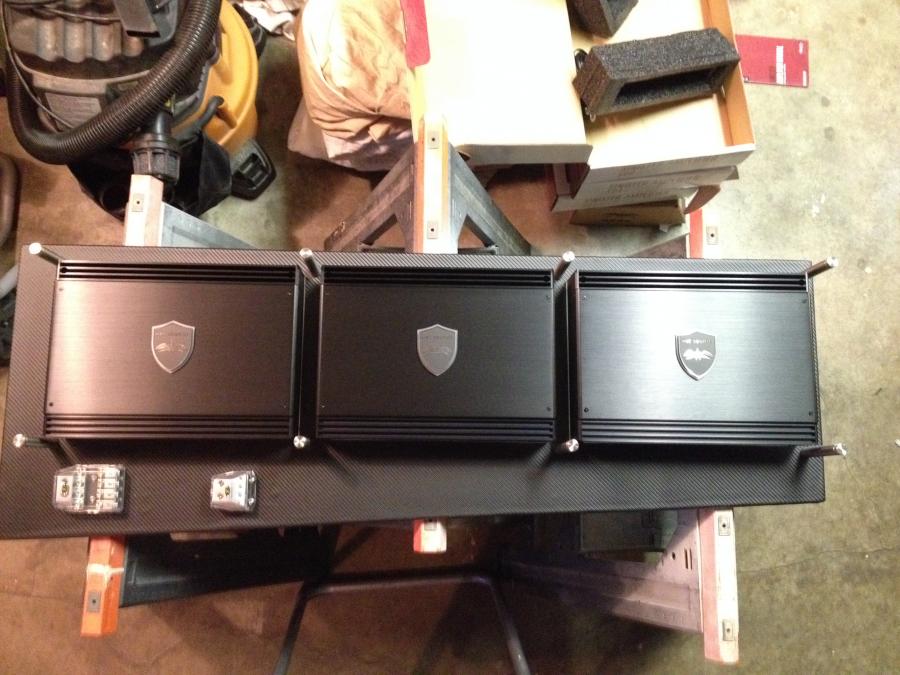

and finally a 1/4' Piece of acrylic held in place with stand-offs to protect the amps and complete the look.
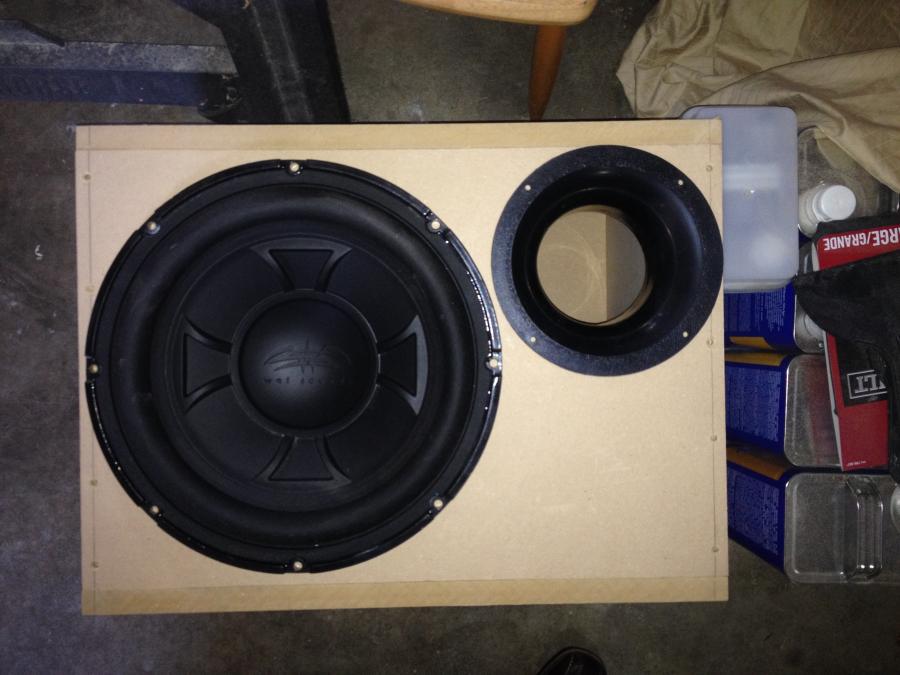
Subwoofer
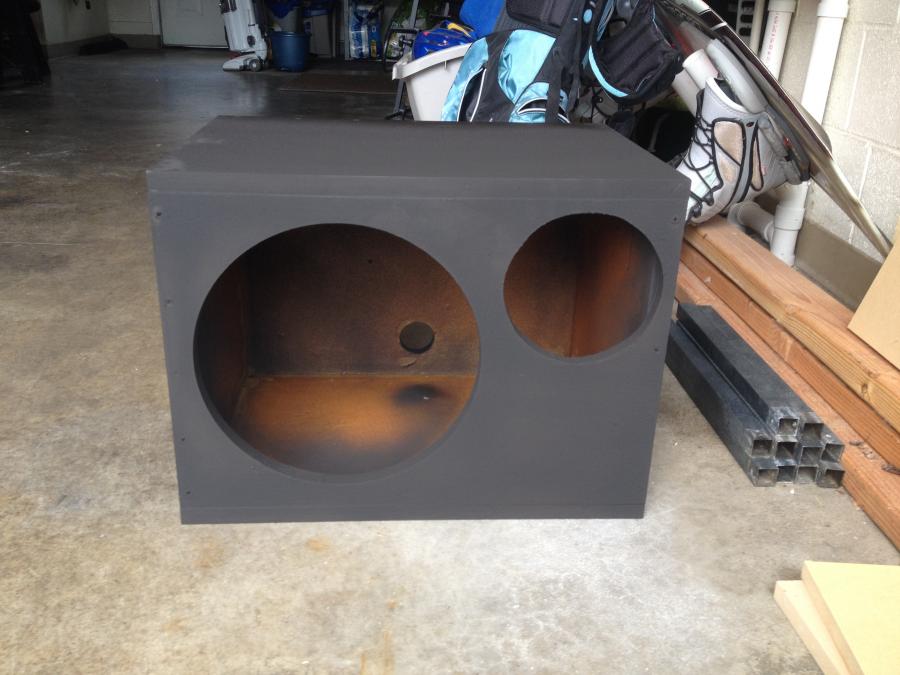
Previously I had a wetsounds XS 12 Sub mounted in a ported box under the helm. It sounded great but with the additional power I would have with the SD 2 I upgraded to the XXX R2. I had originally planned on doing the slot ported box but decided to go with a single round Precision Port instead.
Box is built from 1" MDF, Coated inside and out with epoxy resin and then sprayed with undercoating (probably not necessary but had a can laying around so what the hell)
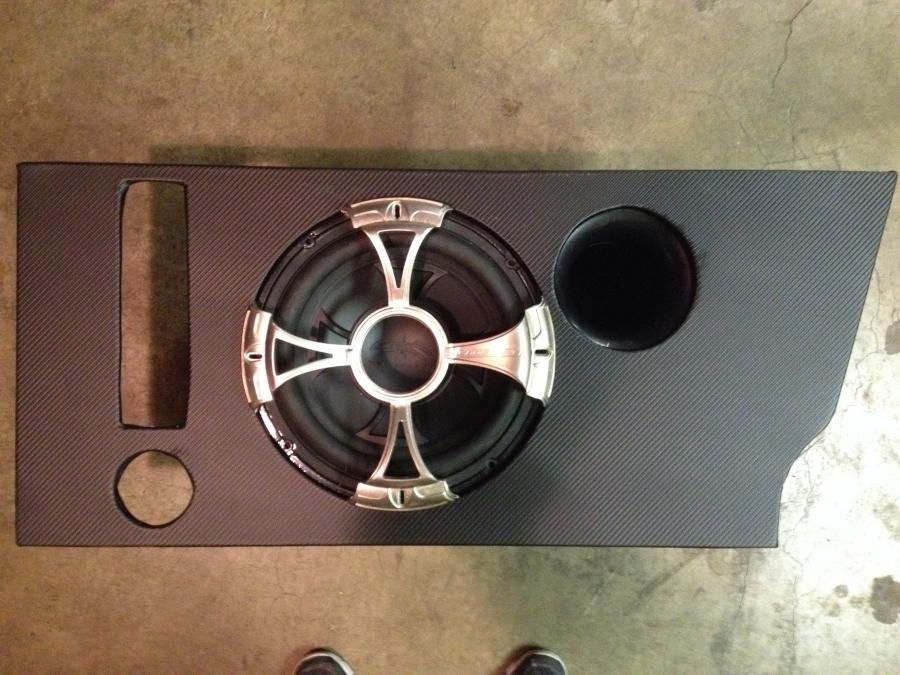
I then built a façade to go in front of the sub and to mount the fuse bus and drivers heater to, again, 1/2" birch and black Carbon fiber vinyl.
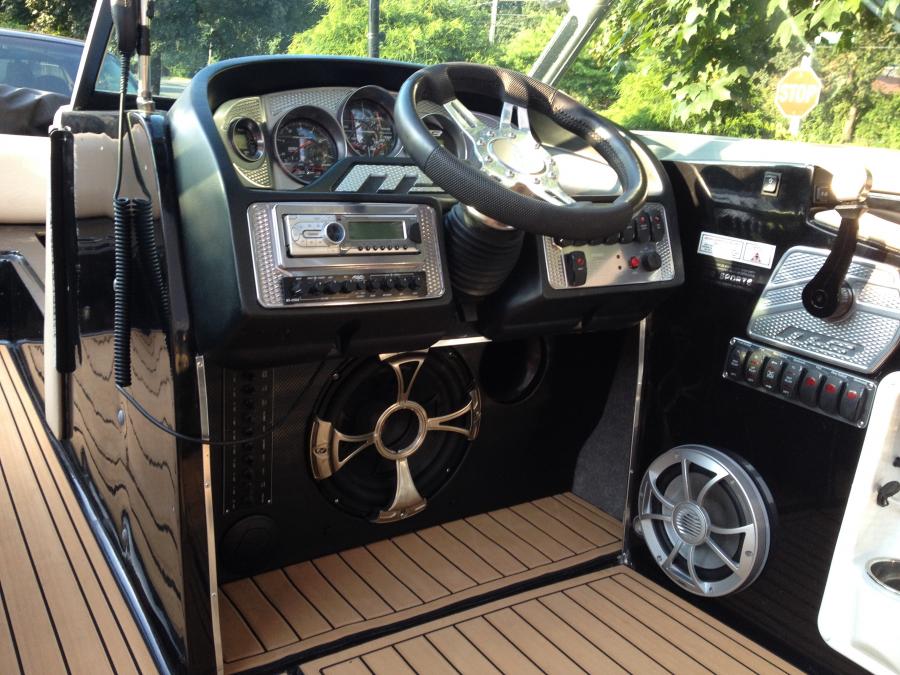
The rest of the stereo upgrades included replacing the drivers speakers from 650's to 808's and adding an additional set of 808's to the main cabin area.
LED Cup Holder and Speaker Rings
I had looked into how much it would cost to do this project with off the shelf items and it was looking like it would be around a grand so I was not going to do this one but then when I saw a post where some other guy had a slick DIY idea I decided to go for it.
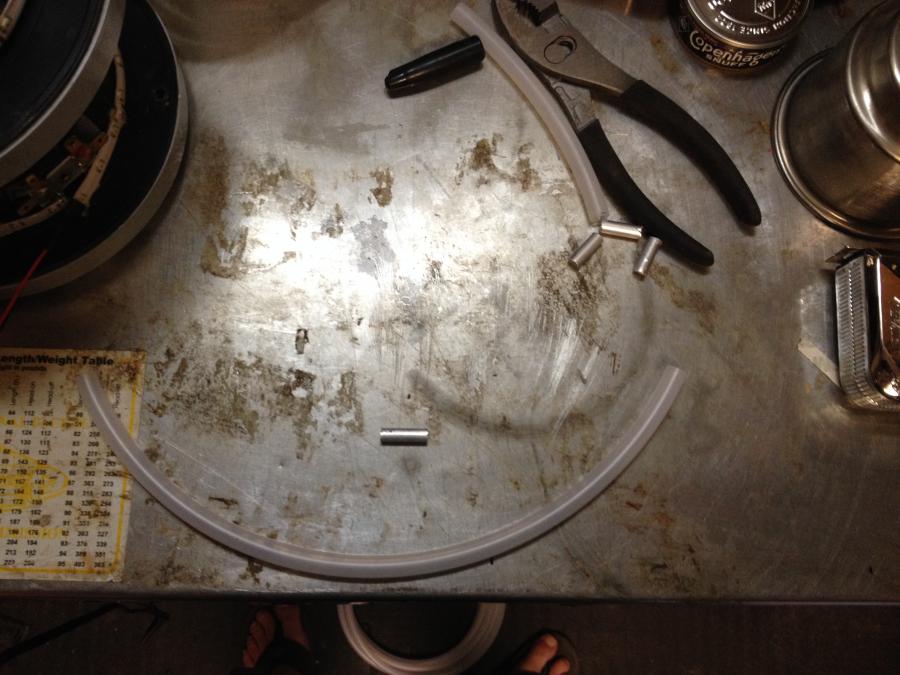
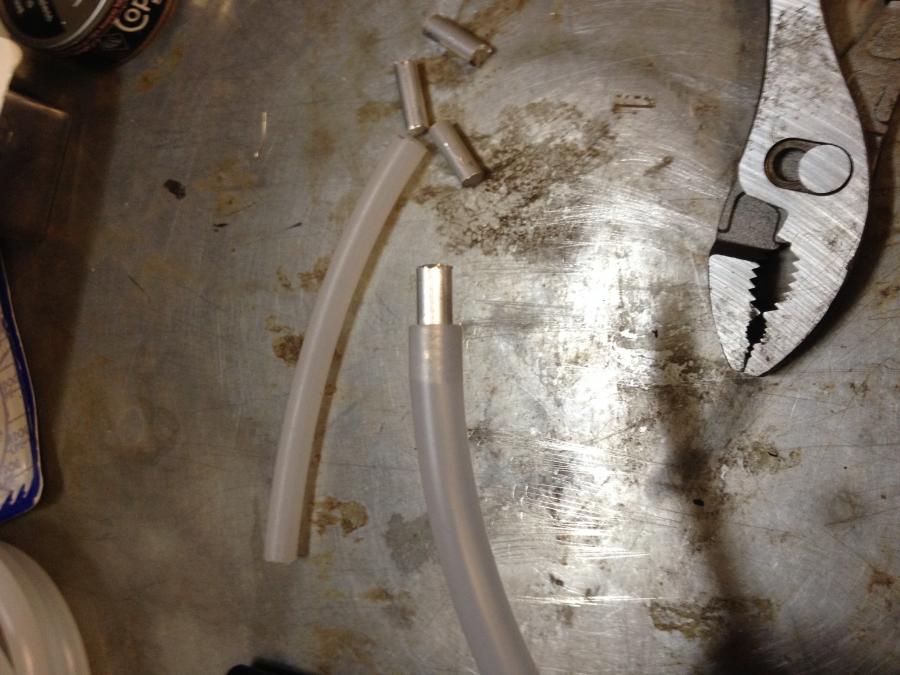
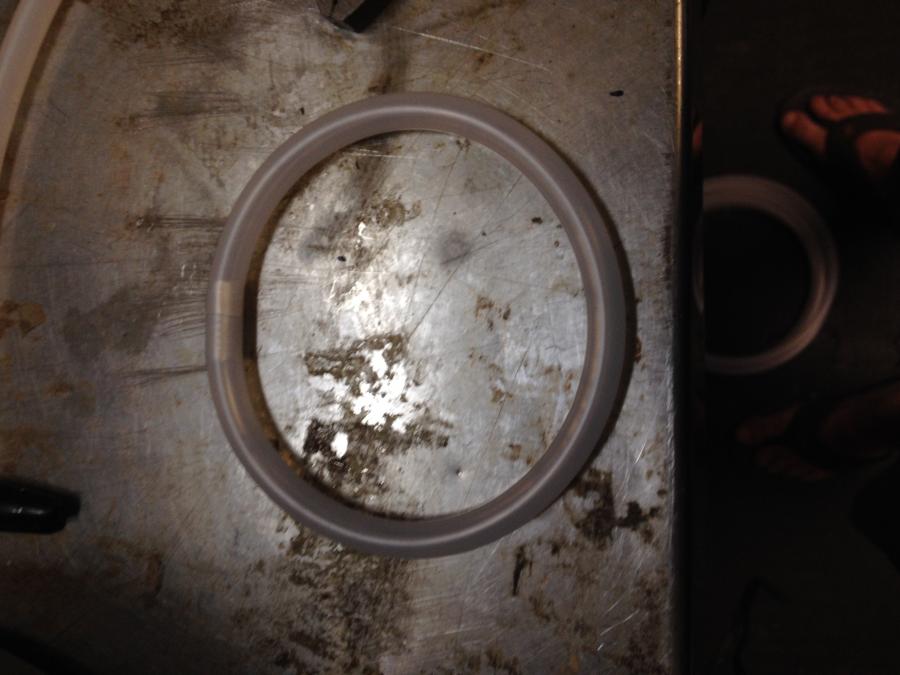
So for these, I bought a bunch of 3/8" white plastic tubing from HD. The guy who came up with this idea was using 1/4" plastic pipe to "connect" the two ends of the circle since 1/4" is the inside diameter of 3/8 tubing. I tried this first and found especially for the smaller circles like the cup holders that the 1/4" tubing was too flexible and was not enough to hold the stiffness of the 3/8" together. So I got a length of 1/4" aluminum dowel and cut it into pieces about an inch long. This worked great connecting the rings together without creating an "angle point" in the 3/8 as the 1/4 tubing did.
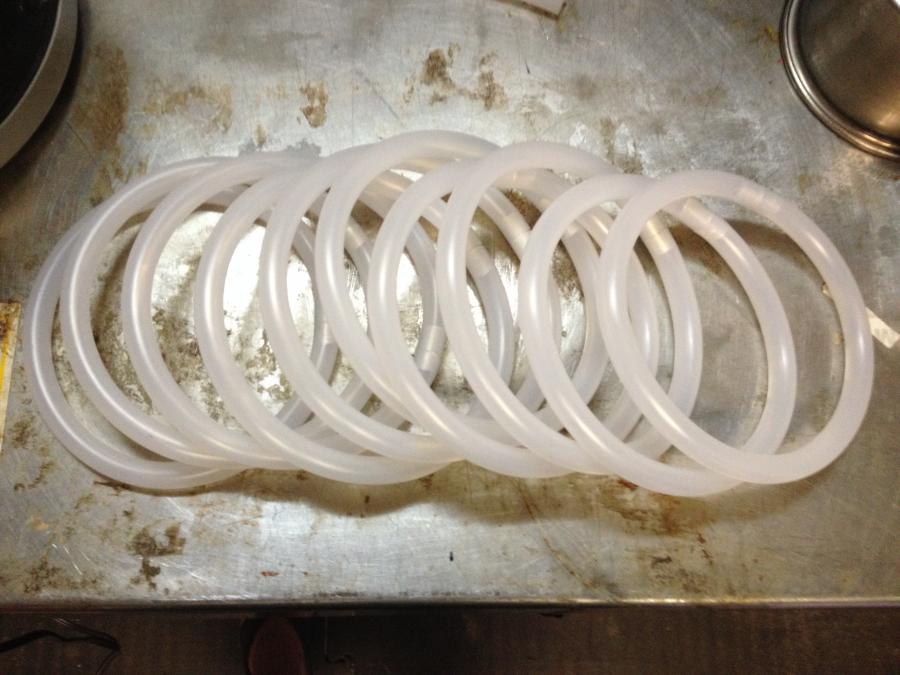
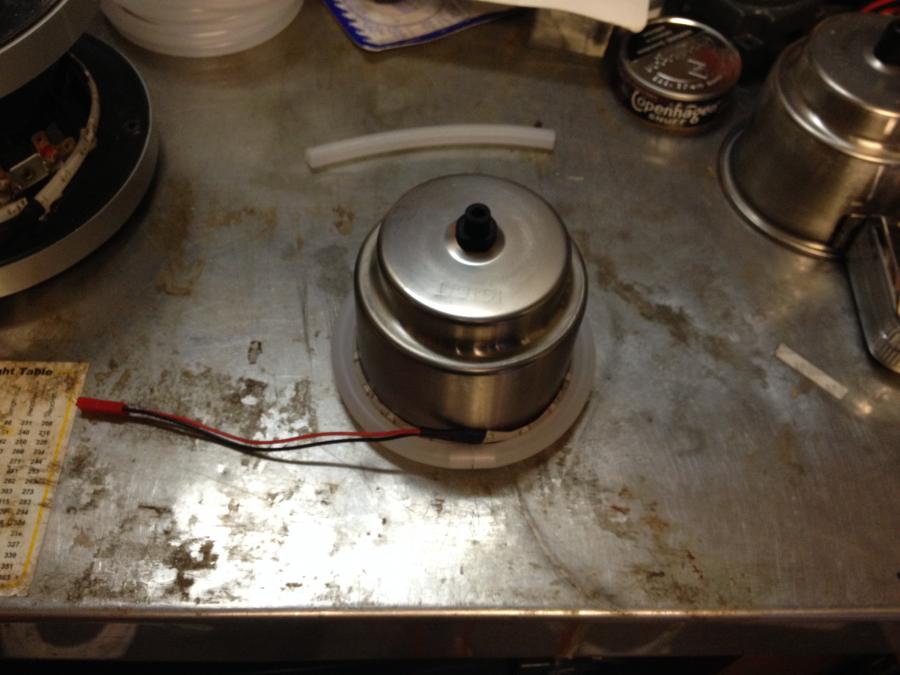
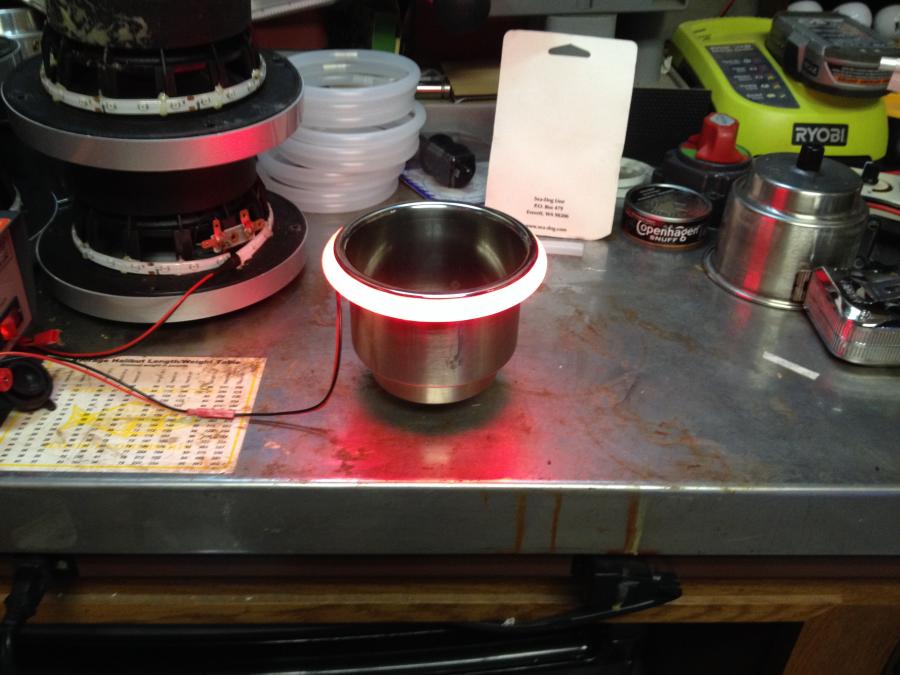
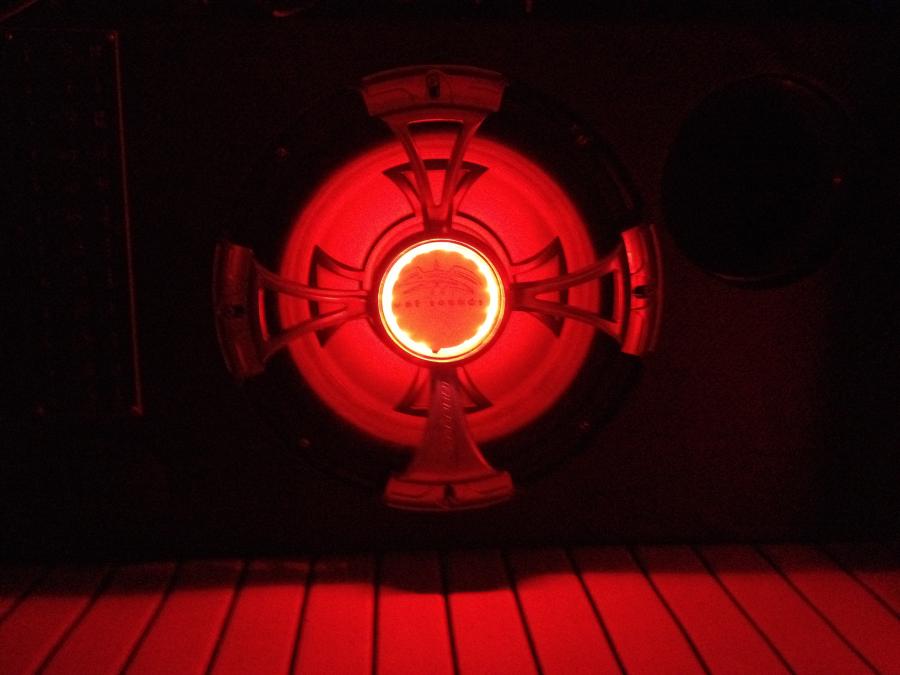
A couple rolls of the Ebay special LED strips and some JST Connectors (RC cars, model airplanes, etc..) and I was able to do the whole boat (13 cupholders, 10 speakers, Subwoofer, and amp board for less than 100 bucks!!
Incidentally while I was wiring all this stuff up I decided to add a bunch of white courtesy LED's around the floorboards as well.


 Threaded Mode